Student Space
As a student, you have access to the student space to request new development environments or to retrieve information about your environments.
You can request one workspace per template per lab. If a lab has multiple templates (e.g. Docker, Go), you can request one workspace for each — so multiple workspaces in the same lab. Across different labs you can have even more workspaces running simultaneously.
Every student page shows the EasyLab copyright and version in a footer at the bottom of the page. The version reflects the latest Git tag the binary was built from (dev for local/untagged builds).
Which address do I use?
Your workshop organiser gives you the address of the student space. It is either a shared one for every lab, or one dedicated to your lab (the lab's own domain). A dedicated one works exactly as described on this page, shows only that lab, and opens straight on the login page. Organisers: see In-lab student portal.
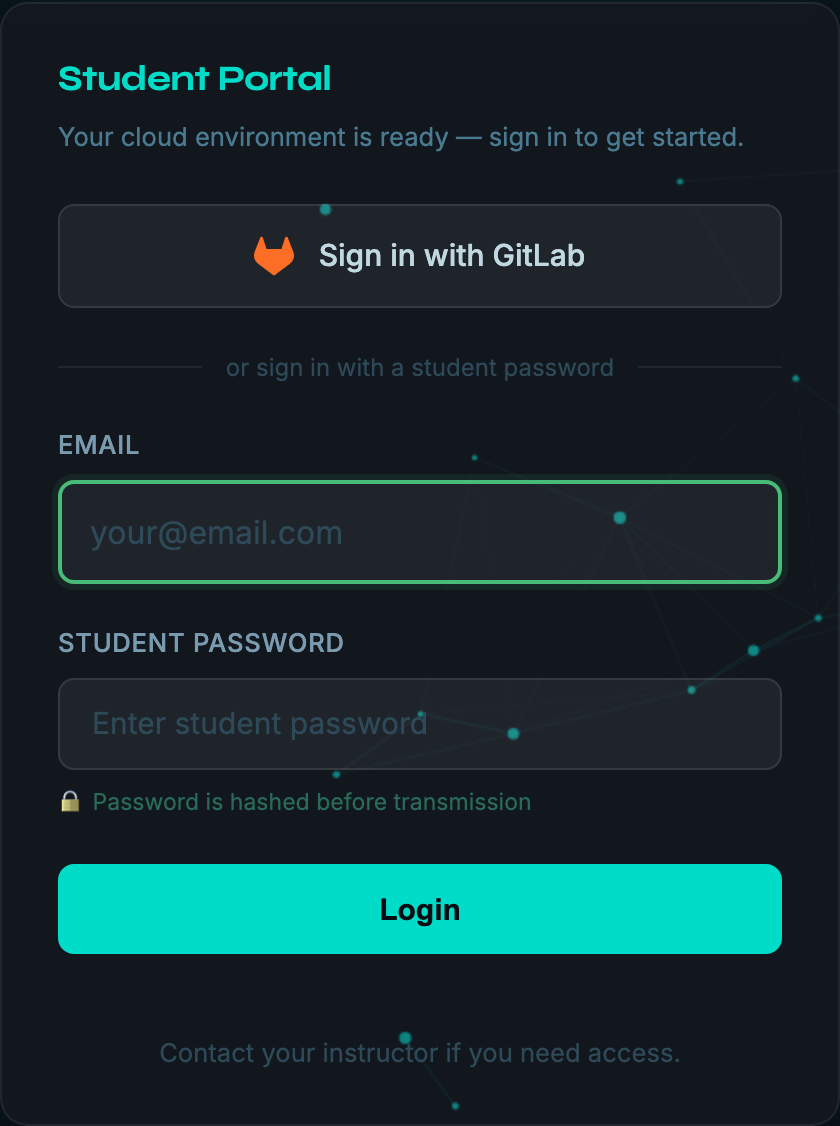
Login
To access the student portal, you must log in with:
- Email — your email address (used to identify you and create your workspace)
- Student Password — provided by the workshop organiser
Your email is validated on submission and stored in your session. It will be pre-filled automatically on all subsequent pages so you don't need to enter it again.
After 5 failed password attempts, further attempts are locked out for 15 minutes as a brute-force protection. If you're locked out, wait 15 minutes and try again, or use Azure AD, GitHub or GitLab login if your workshop offers it.
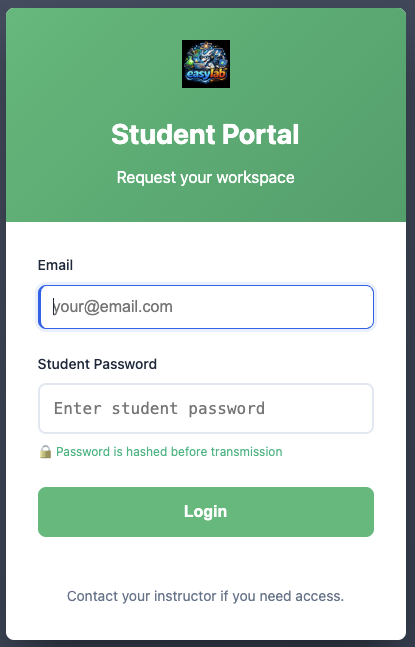
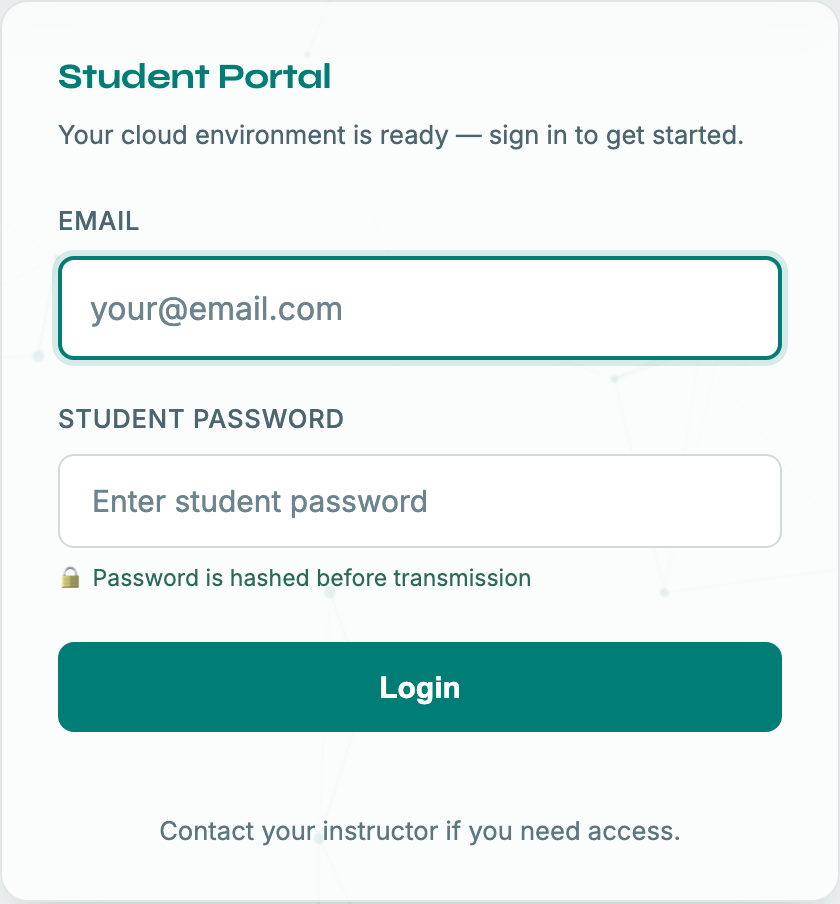
The login page follows your system's light or dark preference. Use the sun/moon button in the top-right corner to switch theme; your choice is remembered in the browser.
Azure AD login (optional)
If the workshop organiser has configured Azure AD authentication, a Sign in with Microsoft button is displayed at the top of the login page, above the password form. Click it to authenticate with your Microsoft account — any valid account in the organisation's tenant is accepted. No separate student password is required via this method.
After a successful Azure AD login, your workspace account is created automatically using your Microsoft email address, exactly as with the password-based flow.
If the organiser has also enabled Disable password login for students, the password form is hidden entirely and only the Microsoft login button is shown.
GitHub login (optional)
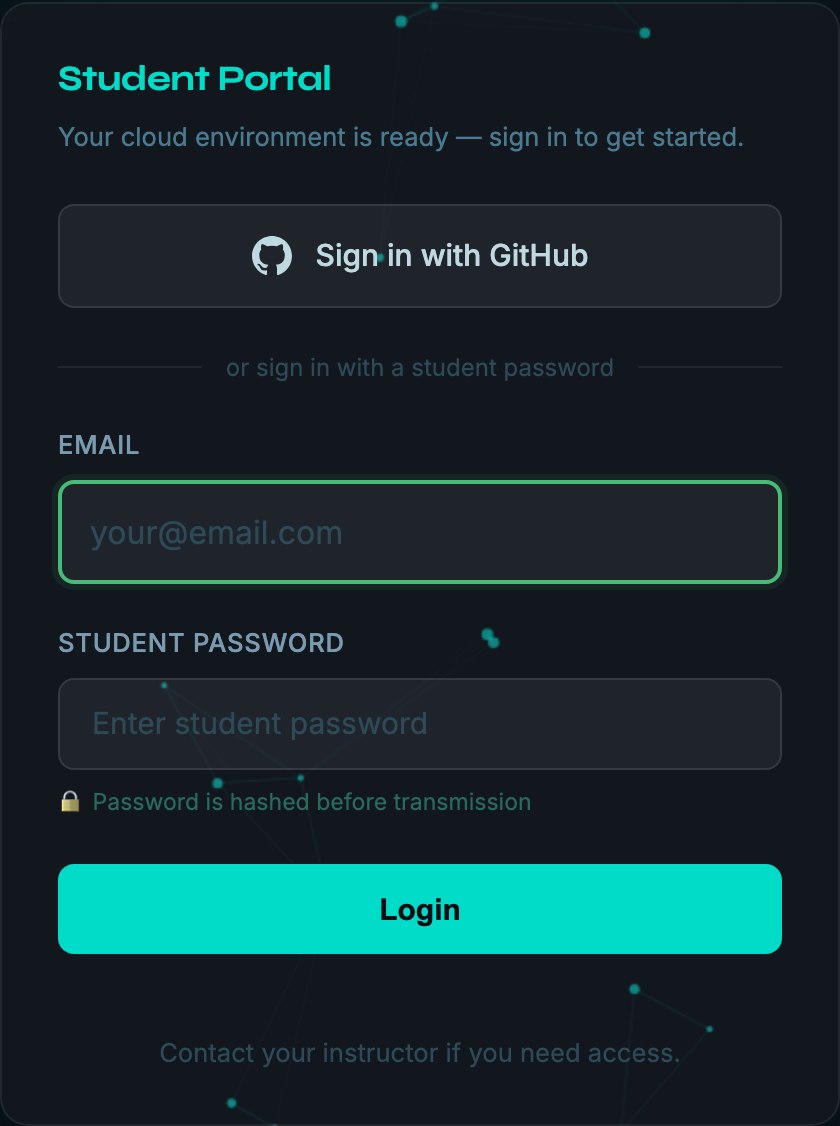
If the workshop organiser has configured GitHub login, a Sign in with GitHub button is displayed at the top of the login page, above the password form. Click it and authorize EasyLab on GitHub — no student password is required. EasyLab only reads your GitHub username (and, if the organiser restricted access, whether you belong to the workshop's GitHub organization).
After a successful GitHub login you are identified by your GitHub username, shown in EasyLab as <username>@users.noreply.github.com, and your workspaces are created under that name.
If the organiser limited sign-in to a GitHub organization you are not a member of, you are sent back to the login page with a message — ask your instructor for access.
If the organiser has turned off password sign-in, the password form is hidden and only the sign-in buttons are shown.
GitLab login (optional)
If the workshop organiser has configured GitLab login, a Sign in with GitLab button is displayed at the top of the login page. It takes you to gitlab.com, or to the GitLab instance chosen by the organiser, where you authorize EasyLab — no student password is required. EasyLab only reads your GitLab username and the groups you belong to.
After a successful GitLab login you are identified by your GitLab username, shown in EasyLab as <username>@users.noreply.<gitlab host>, and your workspaces are created under that name.
If the organiser limited sign-in to a GitLab group you are not a member of, you are sent back to the login page with a message — ask your instructor for access.
Request a new development environment
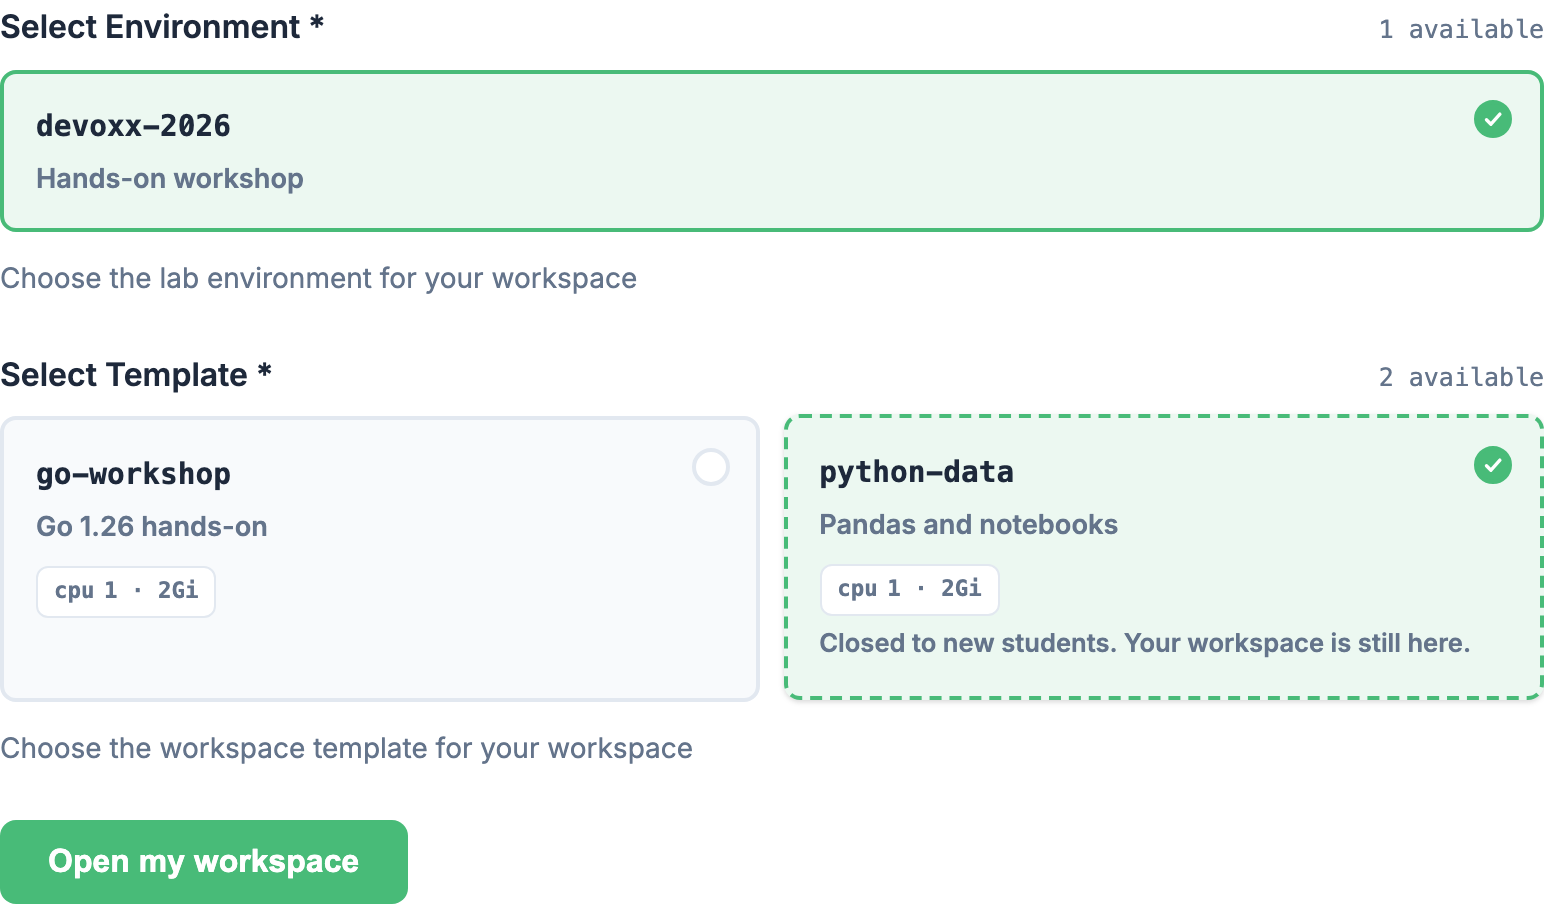
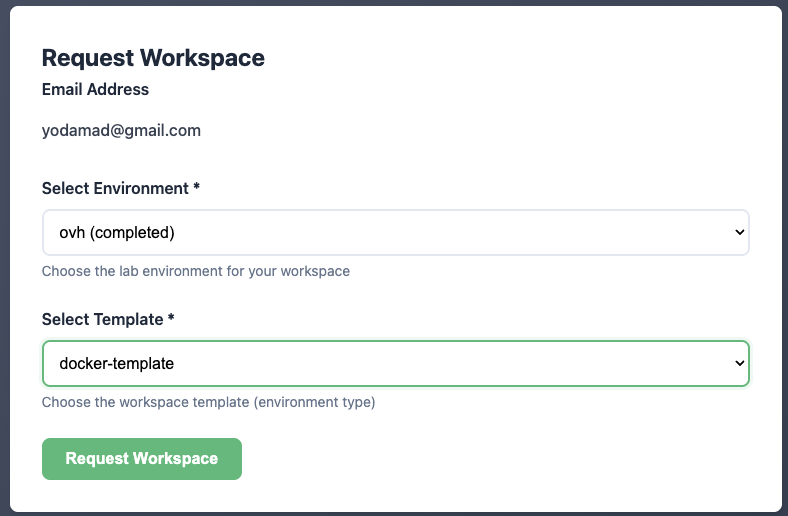
The Request a workspace page is where you land after login. It allows you to request a new development environment. Your existing workspaces live on a separate My Workspaces page — reach it any time from the link in the header — so this page stays focused on the single task of requesting one.
You need to provide:
- the lab (environment) you want to use — available labs appear as selectable cards, each showing the lab name and, when the organiser set one, a short description of what it's for. When only one lab is available it is selected for you.
- the template — once you pick a lab, its templates appear as selectable cards. Each card shows the template name, a short description of what it provides, and its IDE, resources, and source repository, so you can tell them apart before choosing. When a lab has a single template it is selected for you.
Your email address is automatically filled in from your login session and is not editable on this form.
The organiser can close a lab or a template to new students. A closed one no longer appears here unless you already have a workspace on it. In that case its card has a dashed border and reads "Closed to new students. Your workspace is still here.", and the button becomes Open my workspace: it gives you back the link and connection token of your existing workspace instead of creating a new one. Your workspace also stays on the My Workspaces page.
Then, you'll get all information needed to connect to your workspace!
Just use the provided link and credentials to connect to your workspace. A View my workspaces → link takes you to the My Workspaces page, where the new workspace is already listed.
The connection token is the password code-server asks for when you open the workspace URL directly. It is shown here, when you request the workspace; the My Workspaces page does not display it. You rarely need it: Open Code Server on the My Workspaces page signs you in for you.
Waiting for DNS
Right after a workspace starts you may briefly see "Workspace is up — waiting for DNS to propagate...". On a lab with a public domain, the workspace address is created in DNS when the environment is provisioned and can take up to a minute to become resolvable. EasyLab holds back the Open button until the address actually resolves, so you are not handed a link that fails with DNS_PROBE_FINISHED_NXDOMAIN. When the button turns green, the workspace is reachable.
My Workspaces
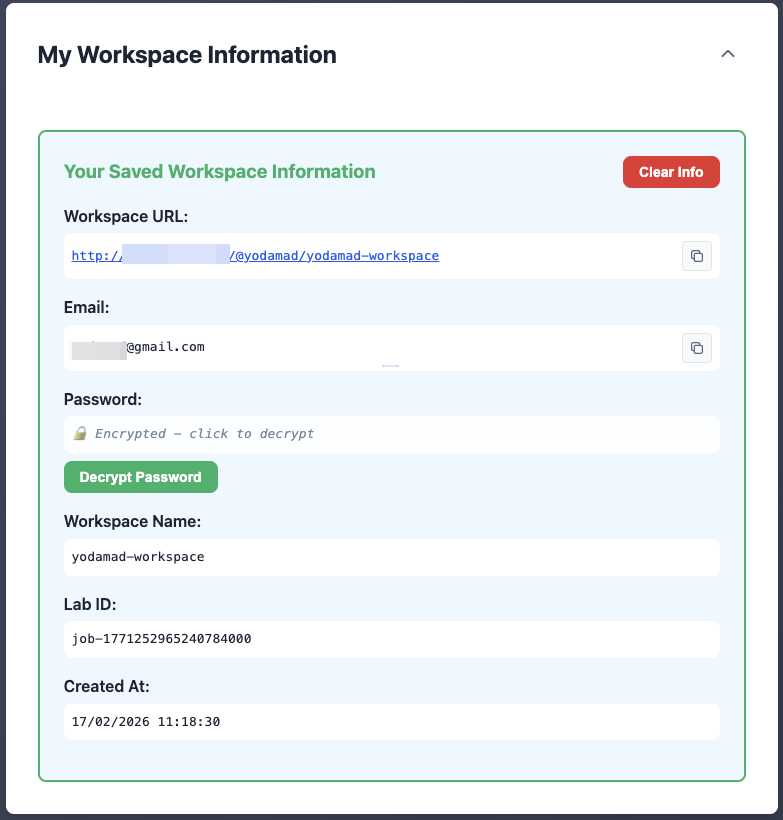
My Workspaces is its own page, reached from the link in the header (or the View my workspaces → link shown after you request one). It displays a card for each workspace you have requested — across different labs and different templates within the same lab. Only your own workspaces are shown. When you have none yet, the page invites you to request your first one.
Find your workspaces on another device
Your workspaces follow your login, not your browser. Nothing is stored on your laptop: sign in to the student portal from another computer with the same email (or the same Microsoft, GitHub or GitLab account) and My Workspaces lists the same workspaces, ready to open.
Sign in the same way
A workspace belongs to the name before the @ of the email you signed in with. Signing in with a different email, or with a different provider that gives you a different username, shows a different list.
If a lab cannot be reached when the page loads, a message says that some workspaces may be missing from the list. Reload the page a moment later.
Workspace cards
Each card is collapsed by default and expands when you click its header (or the chevron), so a long list stays scannable. Even collapsed, a card always shows the essentials — its name, the lab and template it uses, and its auto-deletion badge — so you can tell workspaces apart without opening them.
Collapsed, each card shows:
- Workspace name — the name assigned to your workspace
- Lab and Template — the lab and workspace template this environment was created from, shown as small chips
-
Auto-deletion date — when your workspace will be deleted automatically, shown as an amber "⏳ Auto-deletes …" badge with the date and hour. It only appears when the lab schedules a deletion (either a per-workspace lifetime or a lab-wide end date); if the lab sets no expiry, no badge is shown. Save anything you want to keep before this time.
-
Teacher access note — if a teacher opened your workspace (to check your work or help you debug), the card says "A teacher opened this workspace on …" with the date and time of the latest time they did. Nothing is shown when no teacher has opened it.
Expand the card to reveal the rest:
- Workspace URL — direct link to your code-server workspace (with a copy button)
- Email — the email you are signed in with (with a copy button)
- Created at — when the workspace was created
An Open Code Server button is available on each card header — you don't need to expand the card to use it. Click it to open your code-server directly in a new tab — EasyLab resolves the workspace URL automatically so you don't need to copy it manually, and signs you in for you, so you land straight in the IDE without typing a password. The card does not show the workspace's connection token: if you open the workspace URL directly, code-server asks for the token you were given when you requested the workspace.
Managing workspaces
- Clear — Delete a single workspace. It is removed from the lab (its environment is shut down and deleted) and from your list.
- Clear All — Delete all your workspaces at once, in the same way.
Clearing deletes the workspace
Clearing a workspace is not just a tidy-up of the list: the workspace itself is deleted from the lab, along with everything saved in it. Push or download anything you want to keep first. Once cleared, you can request a new workspace for that template from the Request a workspace page.
If a workspace cannot be deleted from the lab (for example the lab is temporarily unreachable), it stays in the list and a message asks you to try again. A workspace that is already gone — deleted by the organiser or by its auto-deletion date — no longer appears in the list.
Submit feedback
After completing a lab session, you can share your experience via the Feedback page, accessible from the student portal header.
Required fields:
- Lab — Select the lab you attended from the dropdown.
- Overall Rating — Rate the session from 1 (Very Poor) to 5 (Excellent) using the star selector.
- Difficulty Level — Choose one: 😴 Too Easy / 🙂 A Bit Easy / 👍 Just Right / 🤔 Challenging / 🔥 Too Hard.
Optional fields:
- Would you recommend this lab? — Yes, definitely / Maybe / Not really.
- Comments & Suggestions — Free-text field (max 2000 characters) for any additional remarks.
Click Submit Feedback to send your response. A confirmation message appears on success. The form resets automatically so you can submit feedback for another lab if needed.