Admin Space
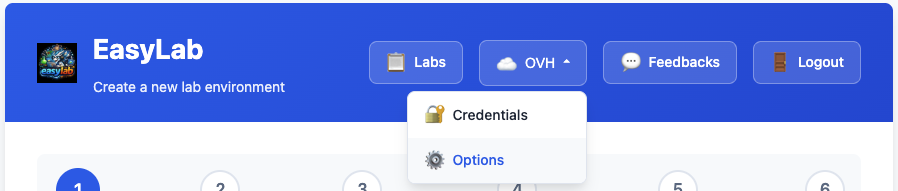
As an admin (trainer, speaker, ...), you have access to the admin space to manage your labs:
- Create a new lab
- Define multiple workspace templates per lab (students get one workspace per template)
- Dry run (preview) a lab before creating it
- Set/update credentials for the cloud providers
- Manage your labs
- See logs
- Retrieve endpoint info (workspace base URL, namespace) for completed labs
- Delete a lab
- Recreate a destroyed lab, either as-is or with an edited configuration
- List workspaces
- Delete workspaces (one by one or in bulk)
- See a workspace creation/deletion history per lab, with owner and template
- Export a lab's workspace history to CSV
- Retry a failing lab installation, either as-is or with an edited configuration
- View student feedback per lab (rating, difficulty, comments)
- Export a lab's feedback to CSV
- View deployment statistics (KPIs, monthly chart, per-project breakdown)
- Configure automatic workspace and lab deletion (cleaning policies)
- View an audit log of lab, workspace, and credential actions (details)
Every admin page shows the EasyLab copyright and version in the sidebar footer. The version reflects the latest Git tag the binary was built from (dev for local/untagged builds).
Login
Admin login uses the password set via LAB_ADMIN_PASSWORD (or Azure AD, if configured — see Azure AD authentication). After 5 failed password attempts, further attempts from the same client are locked out for 15 minutes as a brute-force protection.
The login page follows your system's light or dark preference; the sun/moon button in the top-right corner switches theme, and the choice is shared with the homepage.
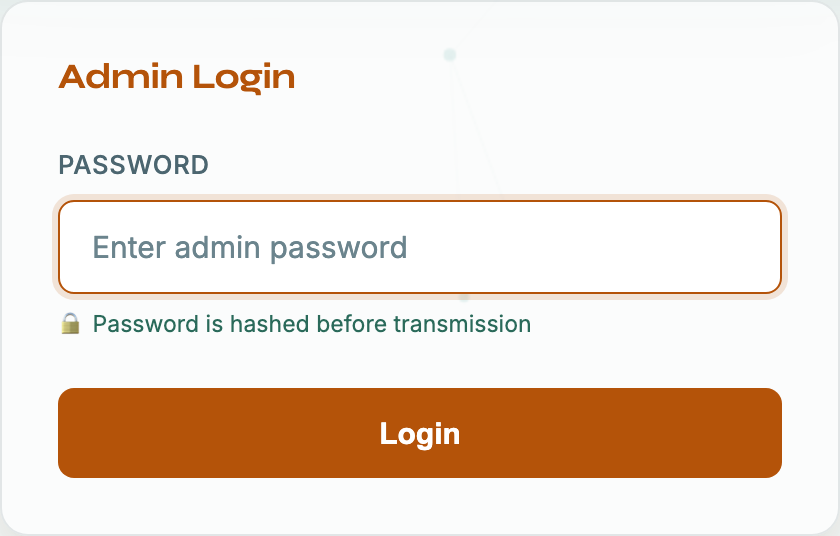
Student login can additionally be opened to Microsoft accounts (Azure AD authentication) GitHub accounts (GitHub login), or GitLab accounts on gitlab.com or a self-managed instance (GitLab login); each is configured from its own entry in the admin sidebar.
Provider credentials
Cloud provider credentials and options are accessed from the Provider dropdown in the header. It contains two entries:
- OVH — opens the OVH configuration page (
/admin/ovh-options) - Azure — opens the Azure configuration page (
/admin/azure-options)
Each provider page has two tabs:
- Credentials — enter and save the API credentials for the provider. Credentials are never written to lab state on disk: they are re-read from the credential store whenever a lab is destroyed, recreated, or retried, so they must be available at that time. By default they are kept in memory only and cleared on application restart; to keep them across restarts, either set up credential storage or provide them through the
OVH_*/AZURE_*environment variables. When using Use Existing Cluster, no cloud credentials are required. - Options — configure available regions and compute flavors/VM sizes for the lab creation wizard. Use Refresh to fetch the latest data from the provider API.
For OVHcloud-specific setup, see OVHcloud configuration. For Azure-specific setup, see Azure configuration.
Credential storage
EasyLab can keep cloud provider credentials and DNS profiles across restarts, encrypted with AES-256-GCM. It only ever does so under a key that is not stored next to the data, so a leaked data volume or backup does not expose them. The Credential storage card at the top of the DNS page (and of /credentials) shows which of these applies:
| What you see | Meaning |
|---|---|
| In memory only | Nothing is saved. Credentials are cleared when EasyLab restarts. This is the default. |
| Saved encrypted under your passphrase | You set a passphrase on this page. It is never written to disk: after a restart the card shows locked, and you enter the passphrase once to get every saved credential back. |
Saved encrypted under LAB_DATA_ENCRYPTION_KEY |
The key is set in the environment, so saved credentials are available again automatically after a restart. No passphrase is involved. |
| Cannot be read | The credentials were saved under a LAB_DATA_ENCRYPTION_KEY that is no longer set (or the file is damaged). Restart with the original key, or reset. |
To start saving credentials, either:
- Set a passphrase — on the DNS page, type a passphrase of at least 12 characters twice and click Save credentials encrypted. Whatever you already entered in this session is saved with it. The passphrase cannot be recovered if lost.
- Set
LAB_DATA_ENCRYPTION_KEYin the environment (see Docker — Environment Variables). This suits unattended deployments: nobody has to unlock anything after a restart.
The key EasyLab generates by itself in <DATA_DIR>/.encryption_key when LAB_DATA_ENCRYPTION_KEY is unset is deliberately not used for this, because it sits beside the data it would protect.
While credential storage is locked:
- Saved cloud credentials and DNS profiles are unavailable; the lab wizard says so and links to the DNS page.
- Existing labs are unaffected. Each lab carries its own copy of the DNS credentials it was created with, so retry and destroy on a BYO-cluster lab keep working. Operations that need cloud credentials (destroy, recreate, automatic lab deletion on a provisioned cluster) wait until you unlock, exactly as they waited for credentials to be re-entered before.
- Five wrong passphrases in a row pause unlocking for one minute.
Under Change passphrase or lock you can change the passphrase (the current one is required) or Lock now. Locking makes saved DNS profiles unavailable until the next unlock; cloud credentials already loaded stay in memory until EasyLab restarts.
Reset credential storage deletes every saved cloud credential and DNS profile. It is the only way out of a forgotten passphrase. Type RESET to confirm.
Saved credentials take precedence over environment variables
If credentials are both provided through OVH_* / AZURE_* variables and saved from the UI, the saved ones are used once credential storage is open.
DNS profiles
A DNS profile is a named, saved set of DNS provider credentials. Create one per DNS account (or per zone) on the DNS page in the sidebar, then pick it in the lab wizard instead of typing the credentials for every lab.
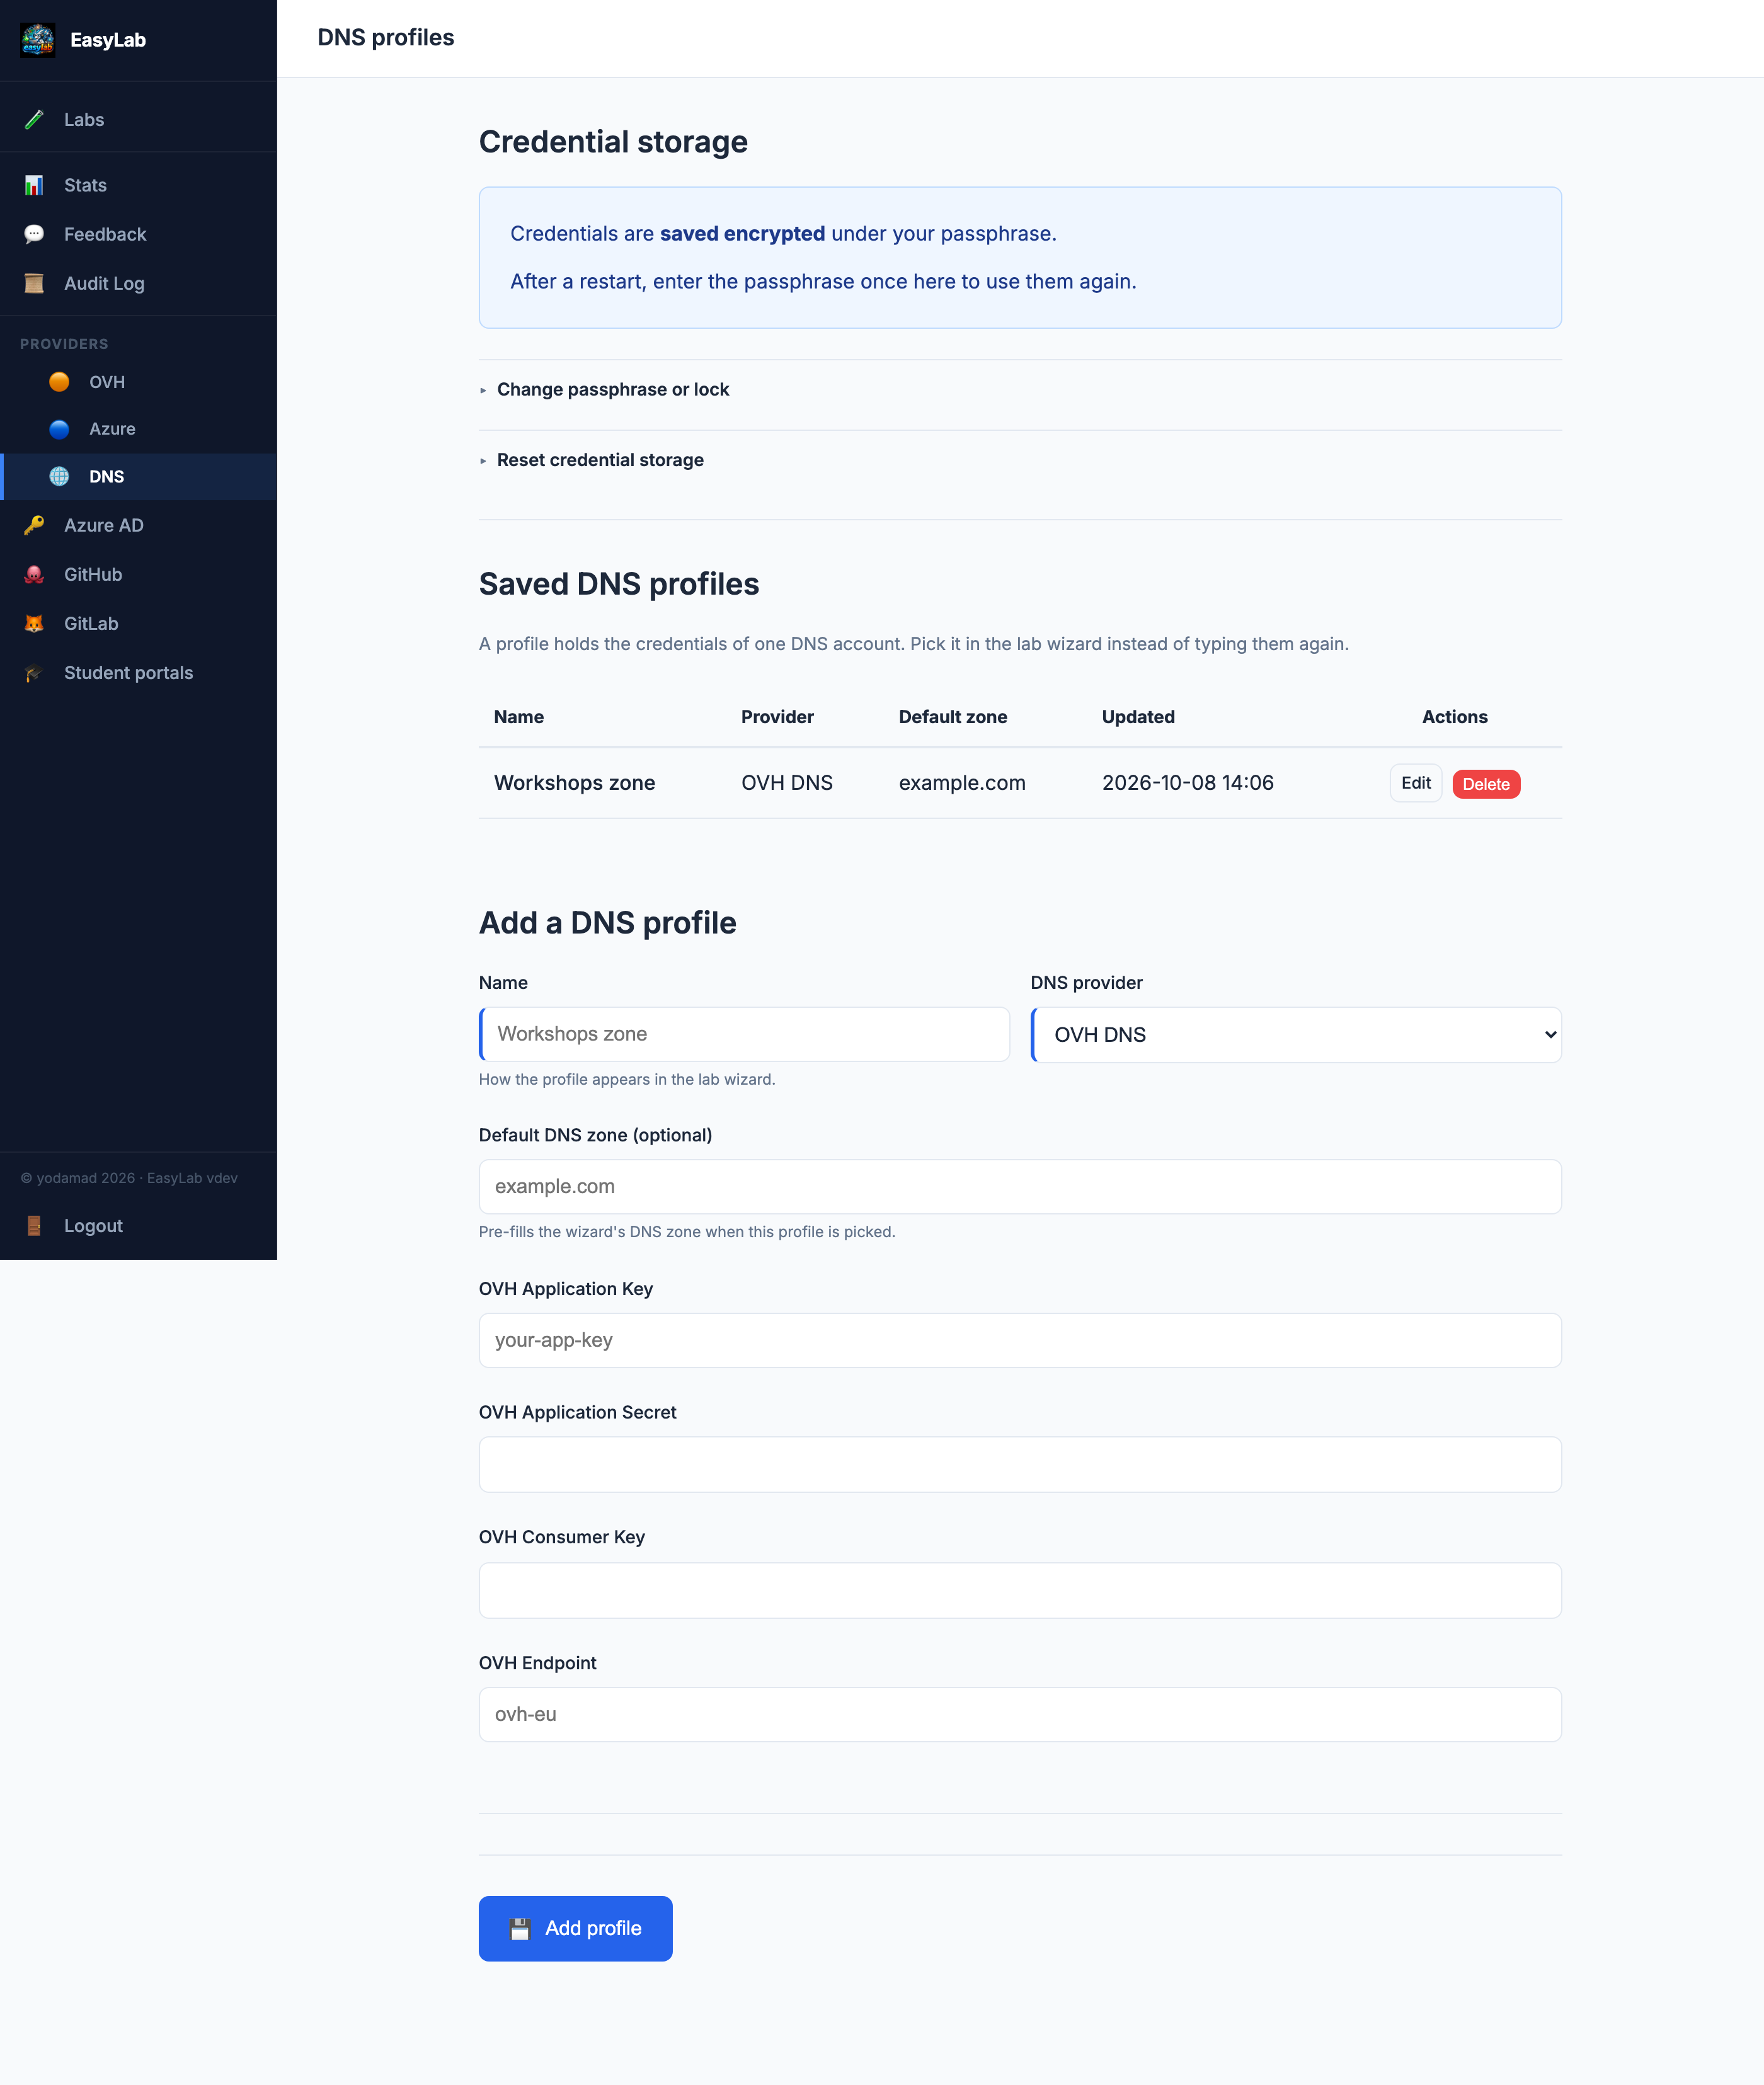
To add a profile:
- Open DNS in the admin sidebar.
- Under Add a DNS profile, enter a Name — this is what the lab wizard shows.
- Choose the DNS provider (OVH DNS or Azure DNS). The credential fields for that provider appear.
- Optionally enter a Default DNS zone; it pre-fills the wizard's DNS zone when the profile is picked.
- Fill in the credentials and click Add profile.
The credentials required are the same as in the wizard — see OVH DNS and Azure DNS credentials.
Edit changes a profile. Secret fields are never shown again: leave them blank to keep the saved value, or type a new one to replace it. Delete removes the profile. Neither affects labs already created, which keep the credentials they were created with — to move an existing lab to new credentials, retry or recreate it with the profile selected.
Profiles follow the credential storage rules above: without a passphrase or LAB_DATA_ENCRYPTION_KEY they last until EasyLab restarts.
Where to go next
- Creating a Lab — the lab creation wizard: infrastructure, workspace templates, HTTPS/DNS, and cleaning policies.
- Managing Labs — the labs list, the lab detail page, retry/recreate, templates on a lab, pre-baking, workspace history, and lab credentials.